Hey All,
I am not a legging person! I have never been a legging person! And I probably never will be a legging person! No offense to the people that do like leggings but they are just not for me….So when I got pregnant I had a little problem. 1) I wanted to be comfortable but didn’t want to have to wear leggings or Lulu’s for my entire pregnancy and 2) I didn’t want the jeans I bought to look like maternity jeans. So one day my husband brought my home a lovely pair of Paige Maternity Jeans and they were faaaaaaaannnnnnnnnnnnntastic!! I love them! But again I cant wear just one pair of jeans for my entire pregnancy and I also don’t want to spend $180 or more on jeans, so I inspected them and figured I would make some of my own.
Step #1
For this project you will need a pair of low rise jeans, stitch ripper, fabric scissors, matching thread, and either high stretch fabric or elastic (40mm or wider) and of course a sewing machine.
STEP #2
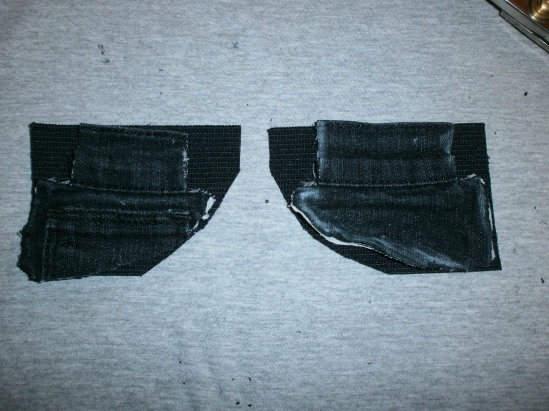
When I am doing my jeans I usually take chalk and draw where I am going to cut. I cut from the top inside corner to the bottom outside corner. When I cutting the waistband I come in a half an inch. The reason that I do this is so I can stitch rip open the seams on the waistband and fold in the waistband to create a cleaner look at the waist.
STEP #3
Take your pocket cut out and place it on your elastic. (Note: I used 60mm Cansew elastic and I stitched 2 peices together to make it wider to fit in my pocket) Then cut around the pocket adding a half an inch on all sides (except along the top) to provide a little seam allowance.
STEP#4
Align the elastic with the top of your waistband (fold in the 1/2 fabric you left at the beginning to make a clean edge) Start sewing in your elastic. I always start from the outside and work my way in. (Start at the outside top corner, work my way down and then across to the inside). Fold your edges in to create a cleaner looking edge. (Note: I usually use a zigzag stitch on some of my jeans that have a little more stretch in them as it provides a little more give with the elastic)
And there you have it!!! Done! Put your jeans on and enjoy! 🙂
Now you can enjoy your jeans a little more comfortably and they can expand along with your growing belly.
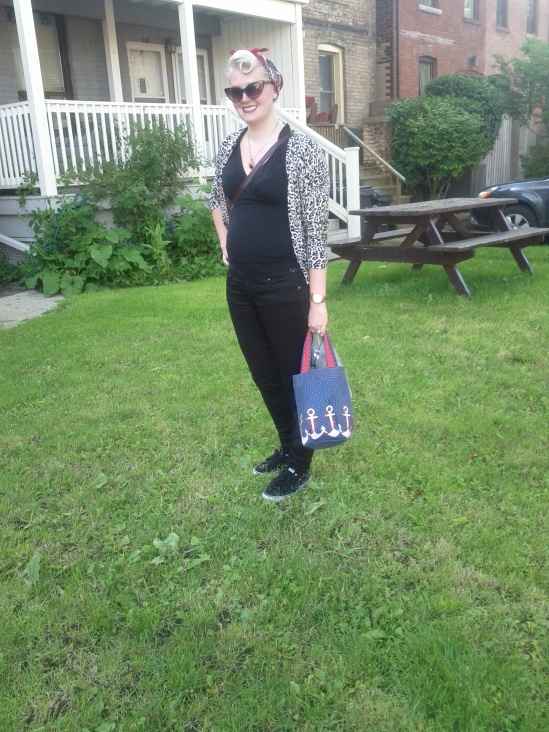
Here is my outfit today and I am wearing a pair of the maternity jeans…..Notice? You cant even tell 🙂 Today I am wearing Paige Maternity Jeans, Vans leopard print shoes, H&M cardigan, and a Rock Steady clothing shirt.
Hope you enjoyed the tutorial today and please note you don’t have to be pregnant to try this 🙂 You may just have a pair of jeans that are a little too tight. This helps provide a little comfort.
Happy Sewing!


